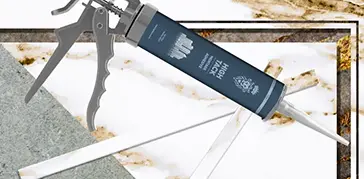
How to mount with High Tack?
High Tack is an ideal adhesive for securely mounting various materials. This article covers the step-by-step mounting process, surface preparation, and important considerations.
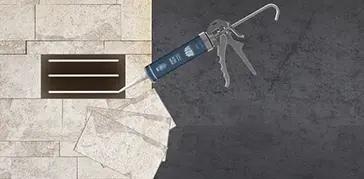
1. Surface Preparation
Before installation, the surface must be clean, dry, and dust-free. Any oil, dirt, or old adhesive residue must be removed. This step is critical for the adhesive to perform at its maximum potential.
2. High Tack Application
High Tack should be applied evenly to the contact surface of the material using an adhesive gun or suitable attachment. The thickness or thinness of the layer should be adjusted according to the weight of the material and the surface type.
3. Placement of Materials
The material is carefully placed onto the surface to which the adhesive has been applied. Initial adhesion is usually quick, but support may be needed during the curing time to ensure the material is fully fixed.
4. Support and Institution Period
- Do not move the material after application.
- You can use weights or supports during the curing period.
- Allow the product to fully cure for maximum durability.
5. Final Checks
Once installation is complete, verify that the material remains securely in place. With proper surface cleaning and application, installations made with High Tack will be long-lasting and secure.
The information in this text may vary from time to time depending on the manufacturer. Always check the product label.